If your home has limited space, a small outdoor area, or if you live in an apartment but love plants and gardening, a tabletop greenhouse is a perfect option for you. Tabletop greenhouses are a great, creative, and unique way to dedicate a small part of your home to growing plants. From DIY coffee table greenhouses with stainless steel legs in the living room to fish tank greenhouses in the dining room, you can create your own mini greenhouse and enjoy the outdoors indoors.
Tabletop greenhouses are typically made of glass, metal, steel, or even plastic, and are small enclosures which are compact and allow your plants to grow happily. Tabletop greenhouses are unique and add an interesting, unique flair to any home. Not everyone has space (or the budget!) for a greenhouse for all their gardening needs, which is why tabletop greenhouses are a great way to add a nice decorative touch to your home.
One great thing about these DIY indoor greenhouses is that they are fairly cheap. Another great thing about them is that they are extremely easy to make yourself and can turn into a great DIY project for any of the die-hard do-it-yourselfers out there. Not only will it add a nice touch to your home but these small greenhouses will satisfy your green craving without putting a major dent in your wallet.
These 3 DIY tabletop greenhouse ideas will have you digging through old possessions or seeking out garage sales in hopes of creating a unique tabletop greenhouse, which adds a fantastic appeal to your home.
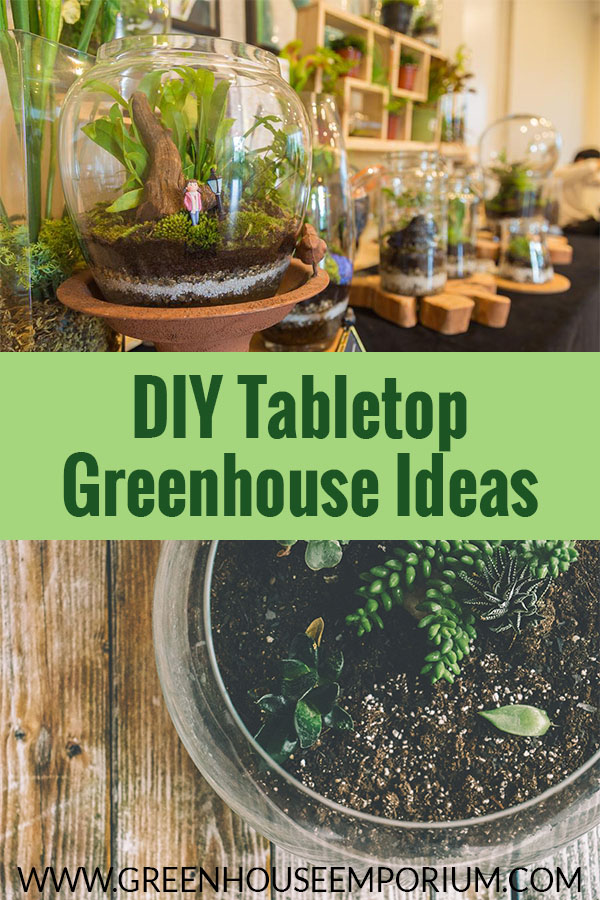
1. Fish Tank Terrarium Greenhouse
If you know anything about tabletop greenhouses, it’s that terrarium greenhouses are extremely popular in the tabletop greenhouse world. For those of you who are unfamiliar with terrariums, they are sort of like aquariums, but instead of being for fish they are for plants.

Terrariums are enclosed structures made for plants, like a miniature greenhouse. Typically made of plastic or glass, terrariums are miniature, unique, indoor gardens. They are self-nourishing and need next to no maintenance!
This easy DIY terrarium is fast, effective, unique, and cheap. All you need to make a fish tank terrarium greenhouse are the following items:
- Fishbowl
- Soil
- Rocks
- Driftwood
- Plants
Instructions:
- Fill the bottom of your fishbowl with soil. Put in roughly half the amount of soil you intend to use. Based on your preference, you may want to also add rocks to the first layer.
- If you have driftwood or any other nice additions you would like to add to your miniature greenhouse, add that in as well.
- Create a hole in the soil that is large enough for you to place your roots and your plants.
- Remove your plant or plants from its container—you may need to lightly massage the roots to loosen the roots from the soil.
- Position your plants in the first layer of soil. Once this is done, you can then add up your second layer of soil and press it firmly in.
- Feel free to get as creative as you want by adding in various sizes and colors of plants and making it unique to you!
Note: Alternatively, you can also make your terrarium using a soda bottle instead of a fishbowl.
2. DIY Tabletop Greenhouse with Picture Frames
For the more creative and intense DIYers out there, this DIY tabletop greenhouse idea is perfect if you are looking for something a little bit old-fashioned and unique to add to the decor of your home.
Recycle and reuse your old picture frames to create a unique, handcrafted, and rustic-looking tabletop greenhouse that is both budget and eco-friendly. All you’ll need is:
- 8 lightweight picture frames (if you don’t have lightweight picture frames you can find them at any dollar store)
- You will need two 8x10s, two 5x7s, and four 4x6s picture frames (this is just a recommendation—the sizing of the picture frames is entirely up to you)
- Hot glue
- White duct tape
- Spray paint
Instructions:
- After you purchase your picture frames, you’ll need to paint them (choose any color you want that fits the decor of your home). Remove the glass as well as the backing frames and spray your paint on them.
- Once the paint dries, take your glass and glue it back onto the frames: put your hot glue on each corner of the picture frame and lay the glass carefully into place. Once this is done, you can start constructing the actual greenhouse.
- Run your hot glue along the sides of the 5×7 frame and carefully glue it onto the 8×10 frame. Do this until you have constructed a box. You can also run your glue gun along the corners of the inside box to secure it.
- Now it’s time to create the roof. Glue your 4x6s to one another lengthwise and do this with each pair. Do not glue the pairs together, but rather use white duct tape to attach them together. to form the shape of the roof. This will give the roof a flexible edge, allowing it to fold over.
- Once you have glued the roof onto the constructed greenhouse, you are done! Place your greenhouse over your plants beside a window and you’ve got a beautiful new tabletop greenhouse!
3. DIY Tabletop Greenhouse with a Vase
This ridiculously inexpensive DIY tabletop greenhouse works like a terrarium. All you need is an old vase or glass globe and a few other items and you’re good to go. This one works similar to a fishbowl terrarium but is a bit more unique. Things you’ll need include:
- Glass globe or vase
- Soil
- Plants
- Sand
- Charcoal layer
- Moss, bark, and small sticks
- Stones, minerals or shells
- Spray bottle or mister
Instructions:
- Once you have all your materials, you’re ready to start. First, you’ll start with the sand layer. Place a thin layer (one cup should suffice) of sand or pebbles in the bottom of the vase or globe.
- The second layer is the activated charcoal layer. Place around ¼ of a cup on top of the first layer. The charcoal layer helps absorb chemicals and keep your plants fresh.
- Next, is your soil layer. Place one or two inches of well-draining soil on top of the charcoal layer.
- Place your bigger plants where you want them. Alternatively, if your larger features are really big, you might want to add them in first before placing in the soil. This is ultimately up to you.
- Time to place in your smaller features. If some of your features are really small, you can use tweezers or even chopsticks to place them. You can also add ornamental minerals and moss—whatever you want and prefer. You can even add tree bark and colored shells!
- Finally, don’t forget to use a spray bottle or mister from time to time to keep your plants hydrated.
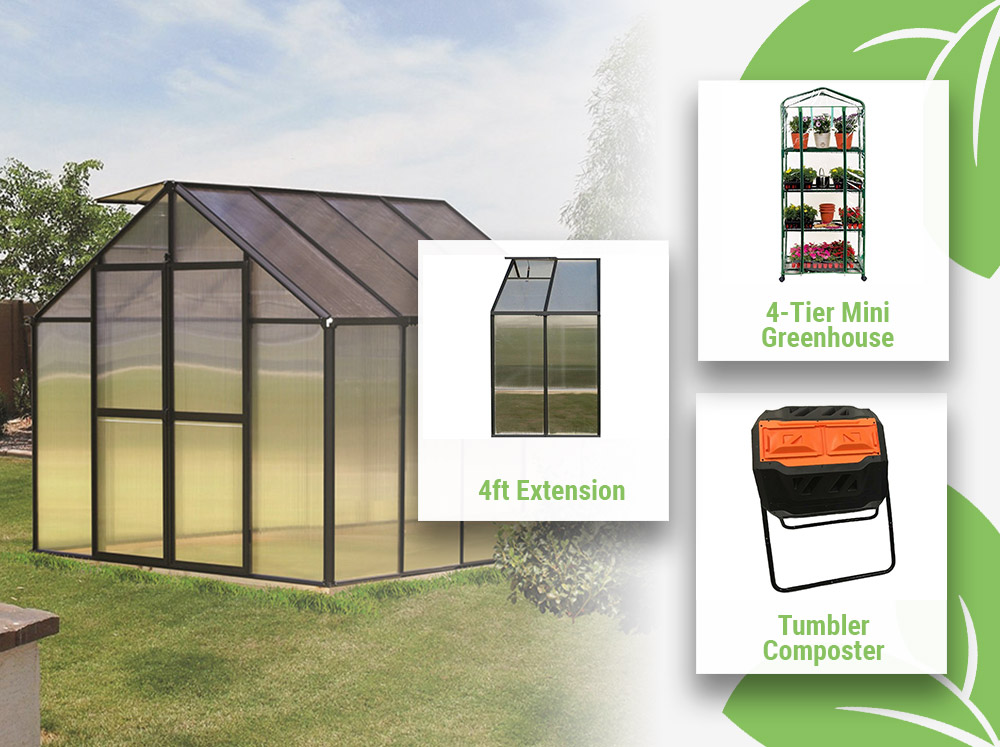
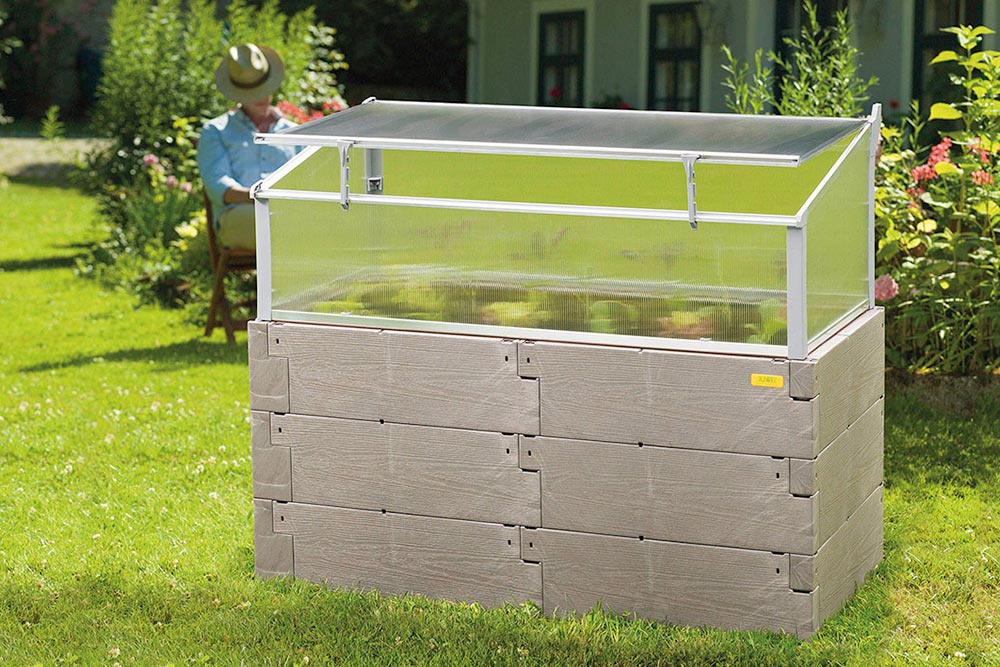
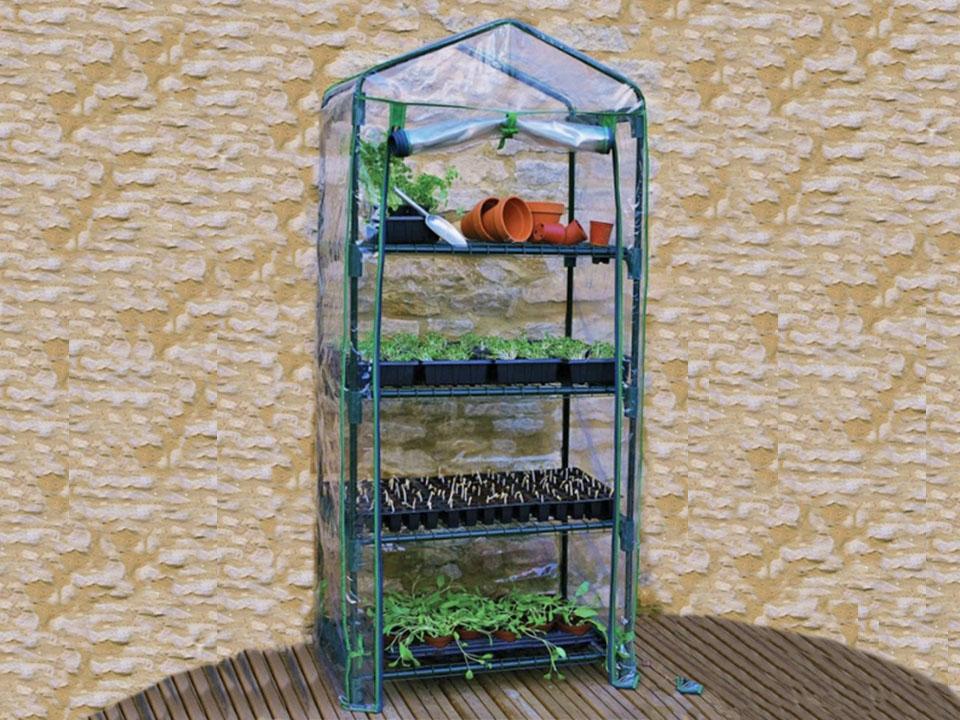
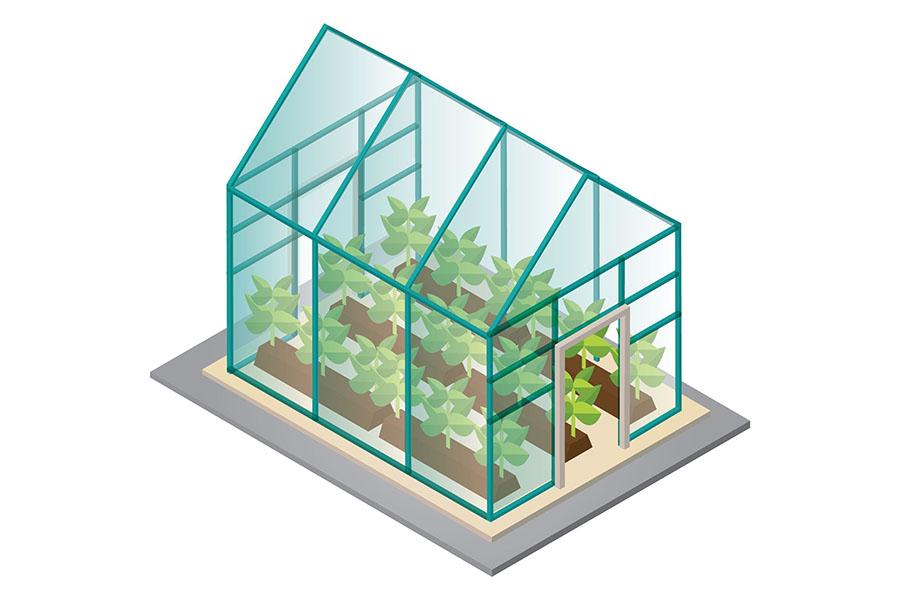
Once you’ve finished your DIY tabletop greenhouse project, you might want to try a bigger project to satisfy your green fingers. If you like tabletop greenhouses or are looking to purchase something for your garden or greenhouse like a cold frame, you might want to have a look at the Juwel Year-Round Cold Frame, which is perfect for all-year use. If you have limited space outside but have enough room for a miniature greenhouse, you might want to have a look at our Riverstone Eden Mini Greenhouse, which is a great addition to any backyard with limited space and is an easy-to-assemble greenhouse system.